
Nothing beats a stretchy, knit-look winter beanie that works up in a single evening from one or two balls of super bulky yarn. This free chunky ribbed family crochet hat pattern uses clever side-to-side construction to create deep vertical ribs across the crown and a snug, folded single crochet brim—all worked flat in one continuous piece before seaming. Written for Toddler, Youth, and Adult head sizes, it is our favorite weekend project for matching family winter sets.
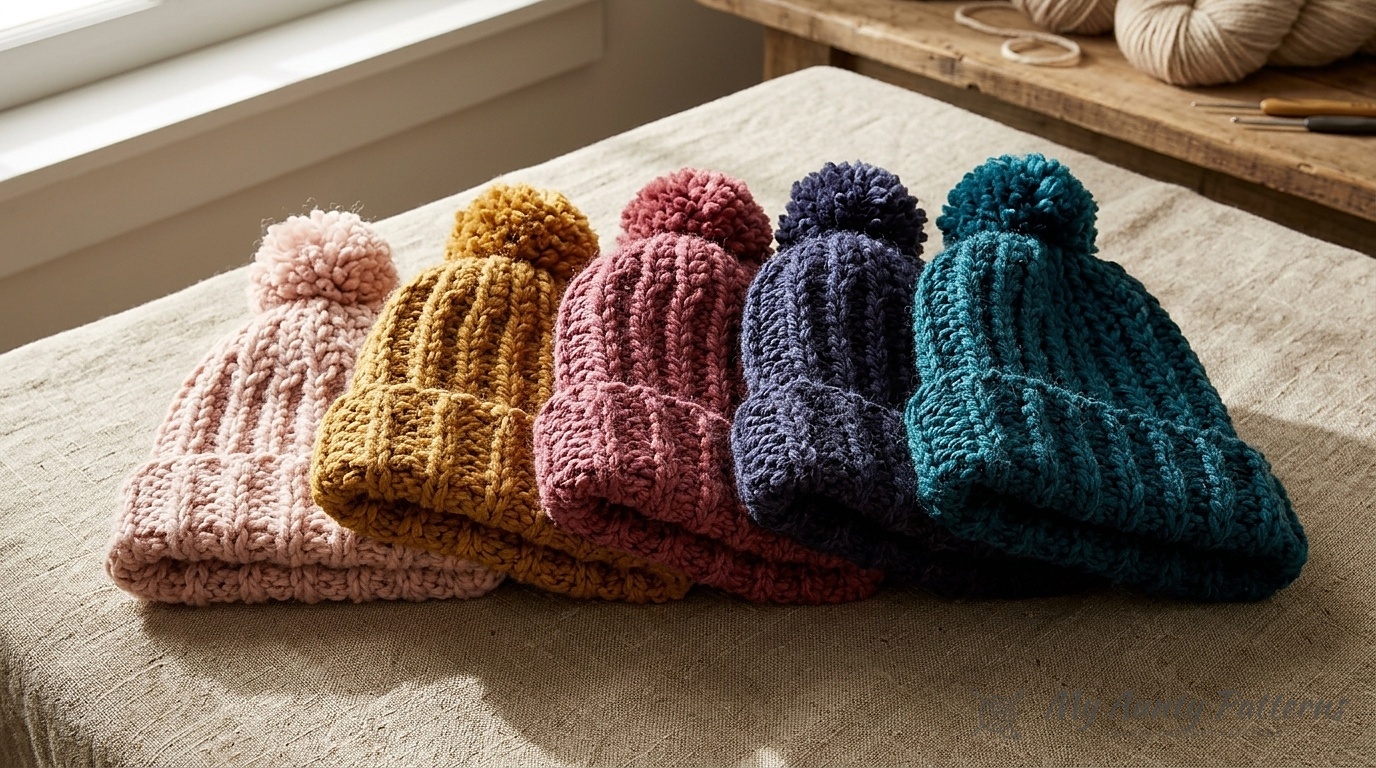
Pattern Terminology & Studio Notes: This pattern follows standard US crochet terminology in accordance with Craft Yarn Council guidelines. The hat body is crocheted flat sideways from row to row; the number of stitches in your foundation chain determines the total height of the hat (including the fold-up cuff), while the total number of rows determines the head circumference.
How Dual-Zone Side-to-Side Ribbing Creates a True Knit Fit
Many side-to-side crochet beanies use the same tall stitch from top to bottom, which leaves the brim overly bulky when folded and creates a bulky gather at the crown. This studio design solves both problems by dividing every row into two distinct stitch zones:
- Main Crown & Body Zone (Horizontal Bar Half Double Crochet): Worked into the horizontal bar (often called the third loop) located directly below the front loop on the side of the stitch facing you. Pushing the top V-loops forward forms lofty, elastic knit-look columns that trap warmth.
- Fold-Up Cuff Zone (Front Loop Single Crochet –
scfl): The final 6, 7, or 8 stitches of every Right Side row (and beginning stitches of every Wrong Side row) are worked in shorter front-loop single crochet. This creates a sleeker, firmer ribbed band that folds up cleanly around the ears without adding bulk. - Automatic Crown Shaping: Because the last few stitches at the top edge are narrower single crochets or slip-stitch transitions, cinching the top edge closed produces a smooth dome with zero puckering under the pom-pom.
Materials, Super Bulky Yarn Specs & Family Sizing Table
The original studio family collection is worked in Bernat Roving (Category #6 Super Bulky, 80% acrylic / 20% wool; 3.5 oz / 100 g, 120 yds / 109 m per ball) paired with a U.S. Size L/11 (8.0 mm) crochet hook. The lightly spun roving twist blooms beautifully in third-loop stitches while maintaining springy memory around the forehead.
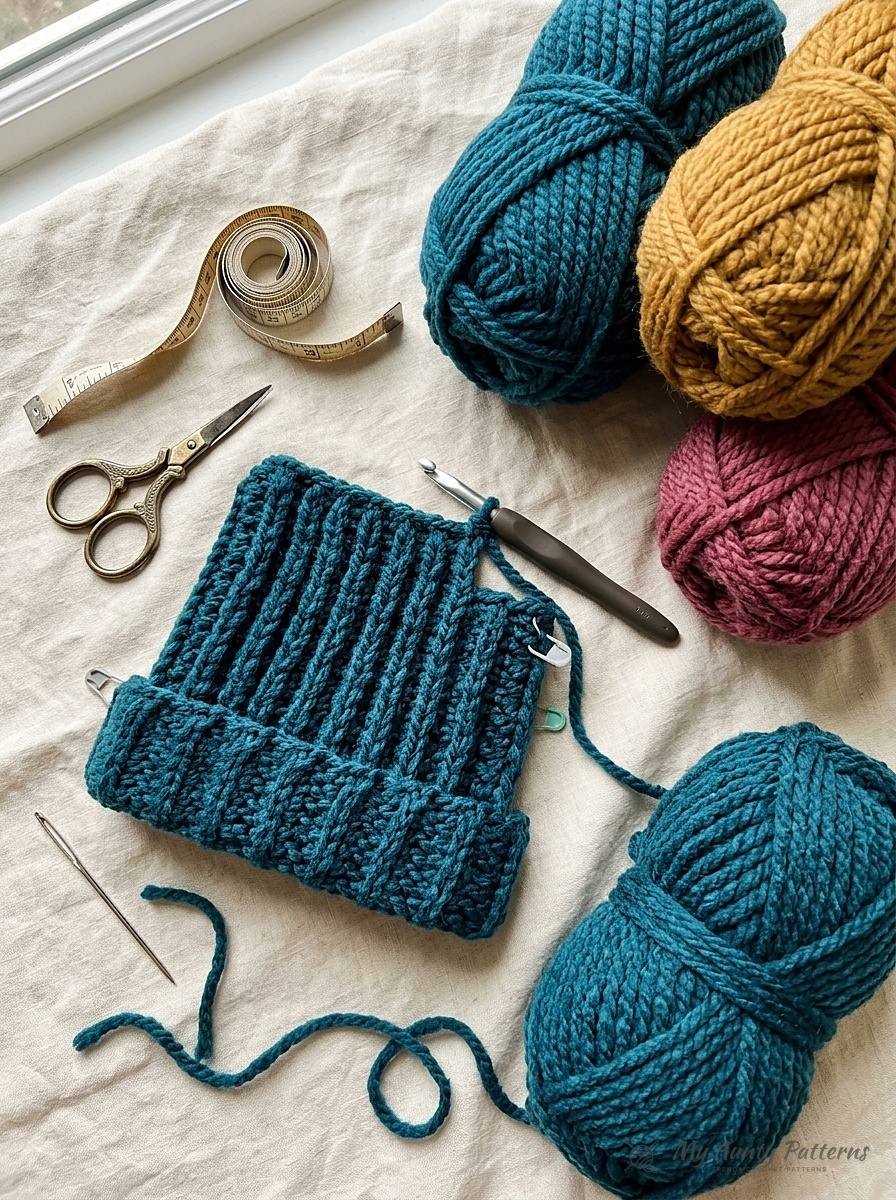
Materials & Tools Checklist
- Yarn: Bernat Roving (Category #6 Super Bulky, 3.5 oz / 100 g; 120 yds / 109 m) — 1 ball for Child 2/4 yrs or Child 6/10 yrs; 2 balls for Adult (includes full 3.5″ handmade yarn pom-pom). Shown in Teal (77201), Mustard Gold, Berry Rose, Quartz Pink (77417), and Low Tide Indigo (77114).
- Crochet Hook: Size U.S. L/11 (8.0 mm) crochet hook, or size required to match gauge.
- Notions: Large-eye steel or aluminum yarn needle for seaming and gathering the crown, locking stitch marker to mark the cuff transition stitch, and a 3.5-inch pom-pom maker (or sturdy 4-inch cardboard template).
- Official Pattern Gauge: 9.5 hdc and 6.5 rows = 4 inches (10 cm) measured in Horizontal Bar Half Double Crochet ribbing without stretching.
Swipe left or right on mobile to view all family hat sizes.
| Size Category | Fits Head Circumference | Foundation Chain | Row Breakdown (Body hdc + Cuff scfl) | Unstretched Width (Flat Panel) | Super Bulky Yardage |
|---|---|---|---|---|---|
| Baby / 12–24 Months (Custom) | 16.5 – 17.5 in. (42 – 44.5 cm) | Chain 21 | 14 hdc + 5 scfl (19 sts) | 13.5 in. (34.5 cm) / 22 rows | 85 yds (1 ball) |
| Child 2/4 Years (Official) | 18 – 19 in. (45.5 – 48 cm) | Chain 24 | 16 hdc + 6 scfl (22 sts) | 15 in. (38 cm) / 24 rows | 105 yds (1 ball) |
| Child 6/10 Years (Official) | 20 – 20.5 in. (51 – 52 cm) | Chain 26 | 17 hdc + 7 scfl (24 sts) | 16 in. (40.5 cm) / 26 rows | 120 yds (1 ball) |
| Adult S/M (Official) | 21.5 – 22.5 in. (54.5 – 57 cm) | Chain 29 | 19 hdc + 8 scfl (27 sts) | 17.5 in. (44.5 cm) / 28 rows | 155 yds (2 balls) |
| Adult Large / XL (Custom) | 23 – 24 in. (58.5 – 61 cm) | Chain 31 | 21 hdc + 8 scfl (29 sts) | 19 in. (48 cm) / 30 rows | 180 yds (2 balls) |
Sizing Note: Instructions are written for size Child 2/4 yrs with changes for Child 6/10 yrs and Adult shown in parentheses: 2/4 (6/10 – Adult). Because horizontal-bar ribbing has roughly 3.5 to 4 inches of negative ease, a flat 17.5-inch panel stretches comfortably to fit a 22-inch adult head.
US Stitch Abbreviations & Special Techniques
- Approx = Approximately
- Ch = Chain(s)
- Hdc = Half double crochet
- Horizontal Bar Hdc (3rd Loop) = Yarn over hook and insert hook from bottom to top underneath the horizontal bar (third loop) that sits directly below the front loop on the side of the previous row facing you; yarn over and draw through all 3 loops on hook.
- Rem = Remaining
- Rep = Repeat
- RS / WS = Right Side / Wrong Side
- Sc = Single crochet
- Scfl (Single Crochet Front Loop) = Insert hook into the front loop only of next stitch, yarn over and draw up a loop, yarn over and draw through both loops on hook.
- St(s) = Stitch(es)
- Yoh = Yarn over hook
Step-by-Step Side-to-Side Ribbed Hat Instructions
Follow these exact row instructions for sizes Child 2/4 yrs (Child 6/10 yrs – Adult). Note that the beginning ch 2 at the crown edge does not count as a stitch.
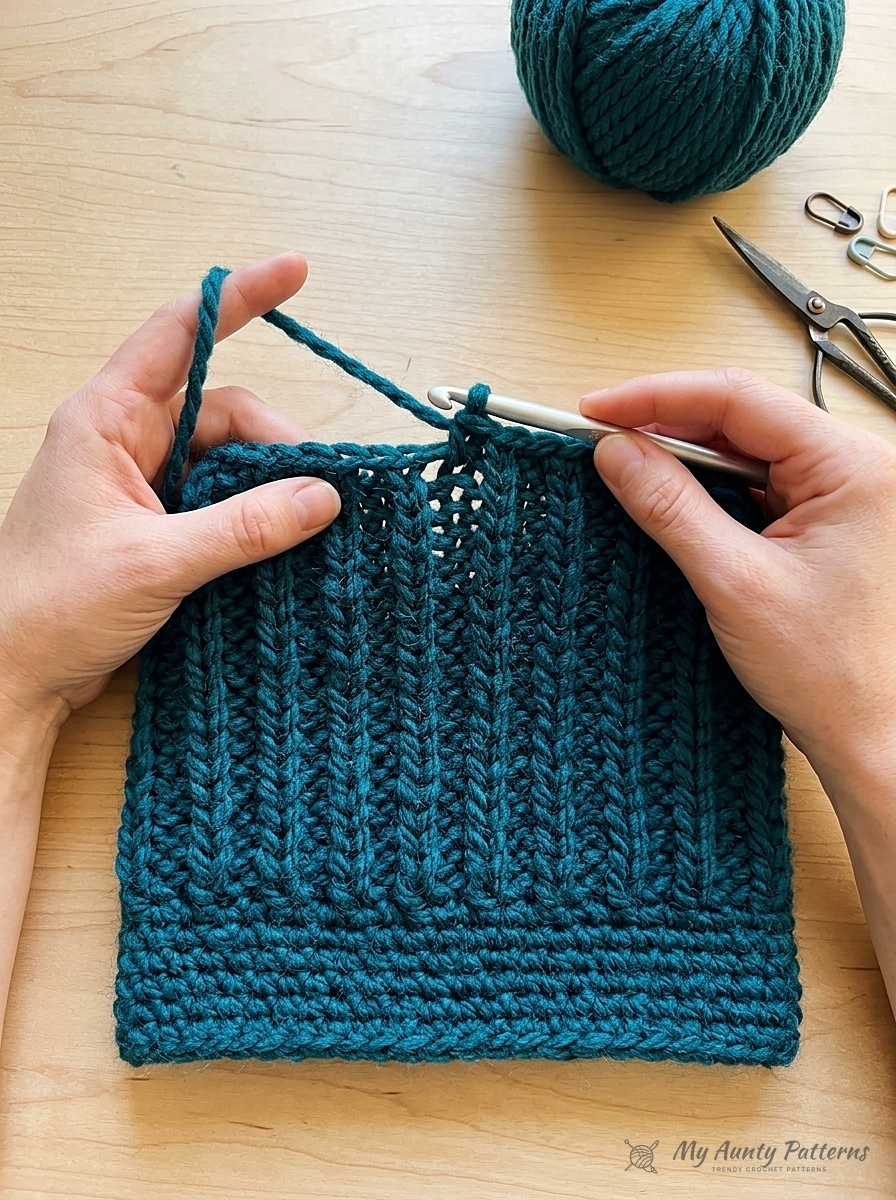
Stage 1: Flat Ribbed Hat Panel
Foundation: With U.S. L/11 (8.0 mm) crochet hook and Bernat Roving yarn, chain 24 (26 – 29) loosely.
Row 1 (Right Side): Work 1 hdc in the 3rd chain from hook (the 2 skipped chains do not count as a stitch). Work 1 hdc in each of the next 15 (16 – 18) chains. Work 1 sc in each of the last 6 (7 – 8) chains. Turn work. Total stitch count: 22 (24 – 27) stitches (consisting of 16 [17 – 19] hdc for the body and 6 [7 – 8] sc for the cuff).
Row 2 (Wrong Side): Chain 1. Work 1 scfl (single crochet in front loop only) in each of the first 6 (7 – 8) stitches. Work 1 hdc into the horizontal bar (third loop) of each remaining stitch across to the end of the row. Turn work. (22 [24 – 27] stitches).
Row 3 (Right Side): Chain 2 (does not count as a stitch). Work 1 hdc into the horizontal bar of each of the first 16 (17 – 19) stitches. Work 1 scfl into the front loop of each of the last 6 (7 – 8) stitches. Turn work. (22 [24 – 27] stitches).
Repeat Rows 2 and 3: Continue repeating Row 2 and Row 3 until the panel (measured flat without stretching) measures approximately 15″ (16″ – 17.5″) [38 (40.5 – 44.5) cm] from the foundation row, ending after completing a Row 2 (Wrong Side) repeat. Fasten off, leaving a long 24-inch (61 cm) yarn tail for seaming and gathering the crown.
Stage 2: Back Seam, Crown Gather & Pom-Pom Finishing
Step 1 (Mattress or Whipstitch Side Seam): Fold the rectangle in half widthwise so the foundation row meets the final row. Thread your 24-inch yarn tail onto a large-eye yarn needle and sew the side edges together using a flat whipstitch or mattress stitch to form a tube. Notice how the `scfl` cuff section is naturally reversible so when you fold the brim up, the seam remains neatly concealed.
Step 2 (Cinching the Crown): Without cutting the yarn tail, weave your threaded needle in and out through the row ends around the top edge of the hat (the `hdc` side opposite the narrower `scfl` cuff) at 1-inch intervals. Pull the yarn tail tightly to draw the crown opening closed. Stitch across the closed top in an X-pattern 3 times to lock the gather, then weave in the end securely on the inside.
Step 3 (Handmade 3.5-Inch Yarn Pom-Pom): Wrap yarn evenly around the arms of a 3.5-inch (9 cm) pom-pom maker—or wrap 80 times around 4 fingers held together. Remove loops carefully and tie tightly around the center waist with a 14-inch length of matching yarn. Cut through all loops on both sides, trim into a dense sphere with sharp scissors, and use the long center ties to sew the pom-pom firmly to the crown of the hat.
Mary’s Studio Tips for Perfect Knit-Look Hat Sizing
- Place a Marker Between the Body and Cuff Zones: Clip a locking stitch marker into the 6th (7th – 8th) stitch from the bottom cuff edge. That way, on Row 3 you never have to count where the
hdcbody stitches end and thescflcuff stitches begin—you simply work horizontal-barhdcdown to the marker! - Never Stretch the Panel While Measuring Row Length: Horizontal-bar ribbing acts like an accordion spring. Always lay your work flat on a table and let it relax for 30 seconds before measuring your 15″, 16″, or 17.5″ width. If you stretch the panel while measuring, your finished beanie will fit too tightly.
- Keep Your Final Cuff Stitch Snug: The very last stitch of Row 3 is worked into the front loop of the first stitch from Row 2. Working into both loops on just the outermost edge stitch of the cuff creates a braided chain selvedge that resists stretching out over years of wear.
Washing & Care for Wool-Blend Super Bulky Hats
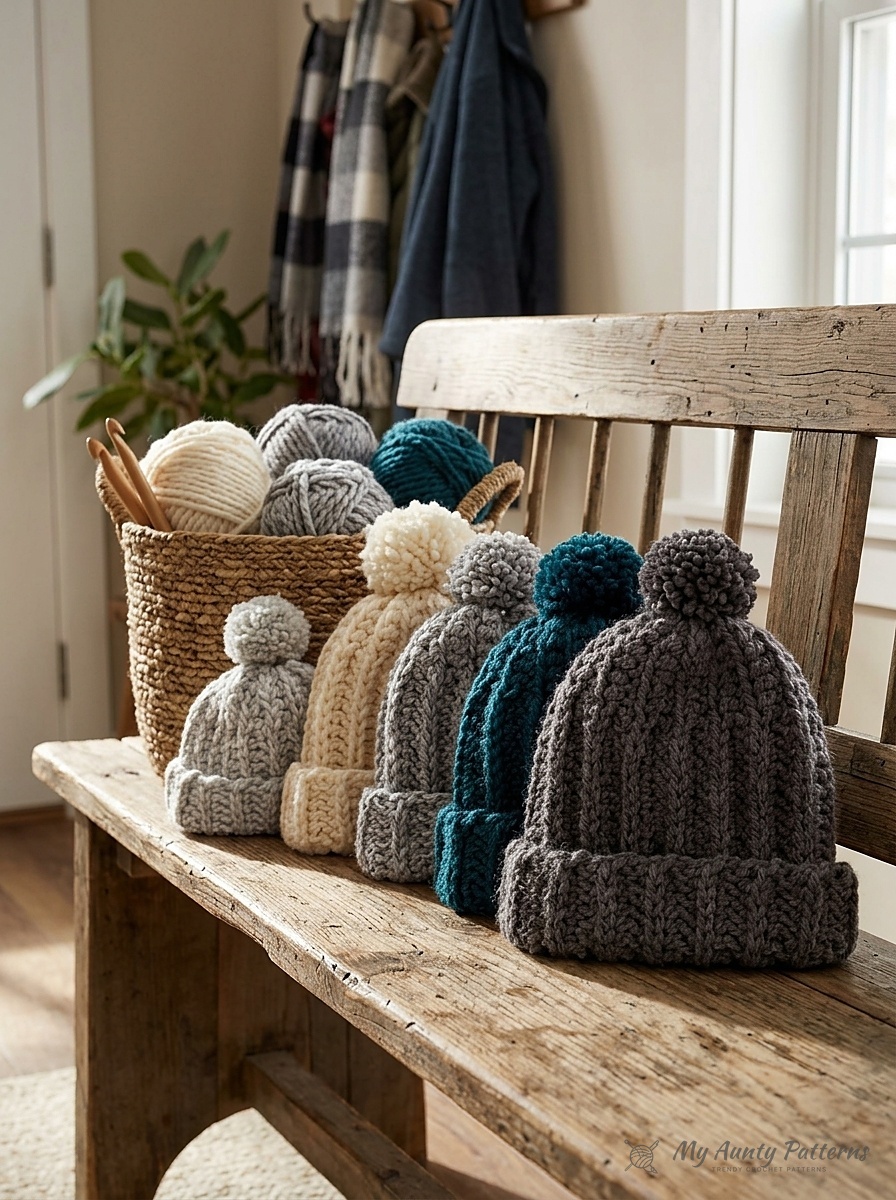
- Cool Hand Wash Only: Because Bernat Roving contains 20% natural wool alongside 80% acrylic, hand wash the hat in cool water with a gentle wool wash. If you attached a faux-fur snap pom-pom, unsnap it before washing; for yarn pom-poms, swish gently without wringing.
- Reshape & Dry Flat: Press excess water out inside a folded bath towel, fluff the yarn pom-pom with your fingers, and dry flat away from direct radiators or sunlight.
Frequently Asked Questions About This Ribbed Hat Pattern
Where exactly is the horizontal bar on a half double crochet stitch?
When you complete a half double crochet stitch and turn your work, look just underneath the normal front loop facing you. You will see a diagonal/horizontal strand running across the front of the stitch post—that is the third loop created by the extra yarn-over in a half double crochet. Inserting your hook under that strand pushes both loops of the top “V” to the opposite side, forming the knit-look rib.
Can I make this hat with 100% acrylic super bulky yarn like Bernat Softee Chunky?
Yes! Any Category #6 Super Bulky yarn that meets the gauge of 9.5 stitches and 6.5 rows per 4 inches with an 8.0 mm hook works wonderfully. Bernat Softee Chunky or Lion Brand Wool-Ease Thick & Quick both substitute 1:1 by yardage.
How do I adjust the pattern for a slouchy beanie style?
To convert any size into a relaxed slouchy fit, simply add 4 extra chains to your starting chain and work those 4 extra stitches as part of the Horizontal Bar Hdc body section (leaving the 6, 7, or 8 cuff stitches unchanged). This adds nearly 1.75 inches of extra crown drape.
READER COMMENTS & PATTERN QUESTIONS
Have a question about stitch counts, yarn substitutions, or sizing? Leave a comment below — Mary Ward reads and replies to every maker question!