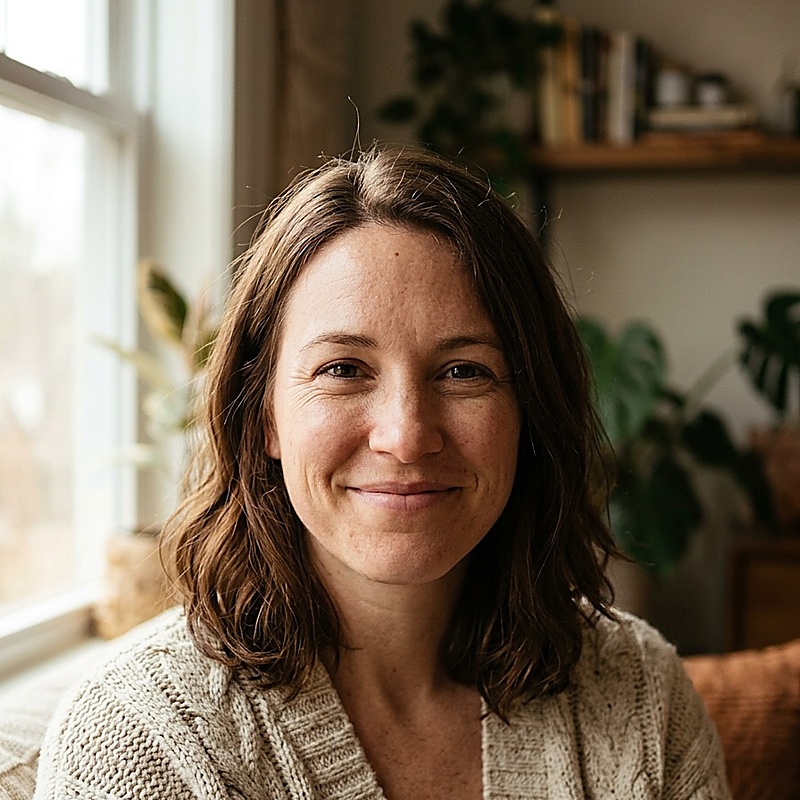
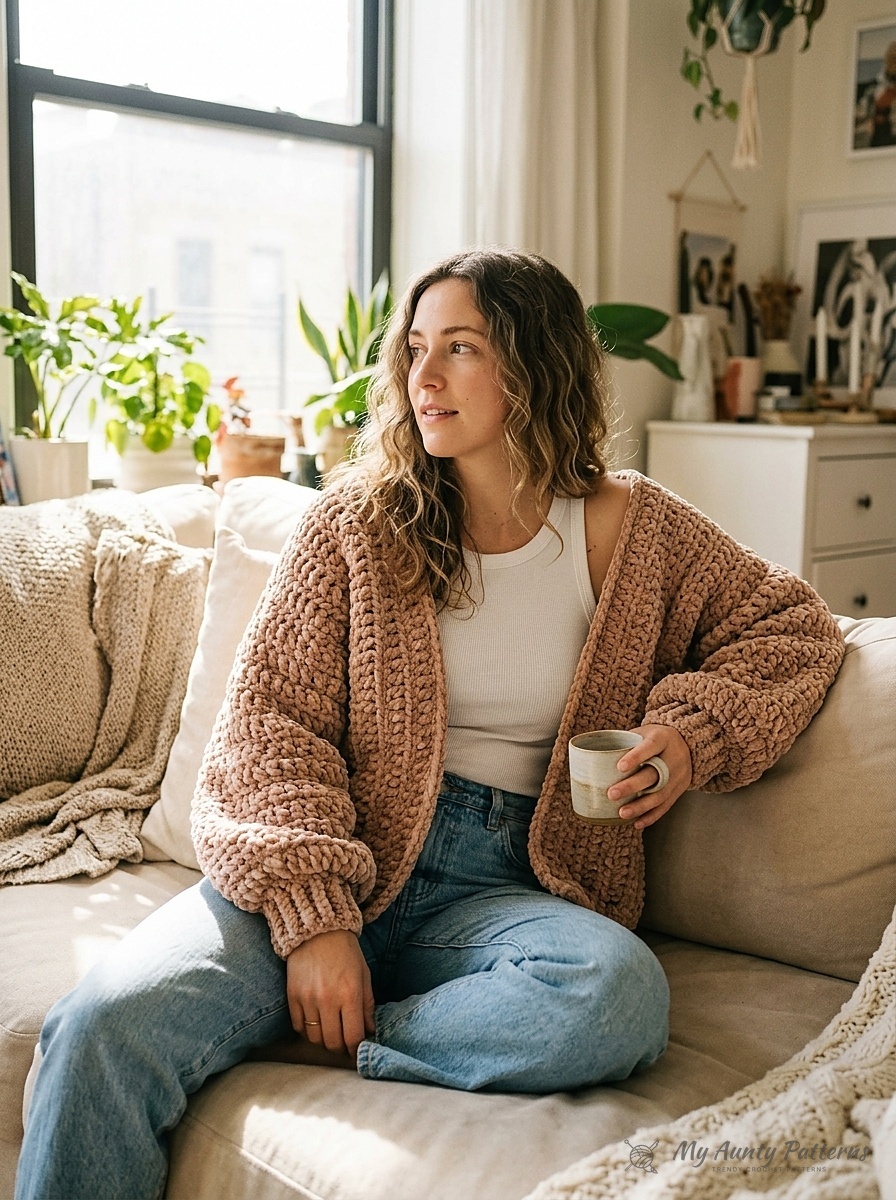
Imagine wrapping yourself in your favorite plush chenille throw blanket—tailored into an effortlessly wearable, slouchy lounge jacket. This free cozy oversized chenille crochet cardigan pattern uses beginner-friendly double crochet worked continuously from side to side across the Left Front, Back, and Right Front without any shoulder seams. Topped off with roomy sleeves worked in the round and neat single crochet cuffs, it is the ultimate first garment project for makers who love super bulky yarn.
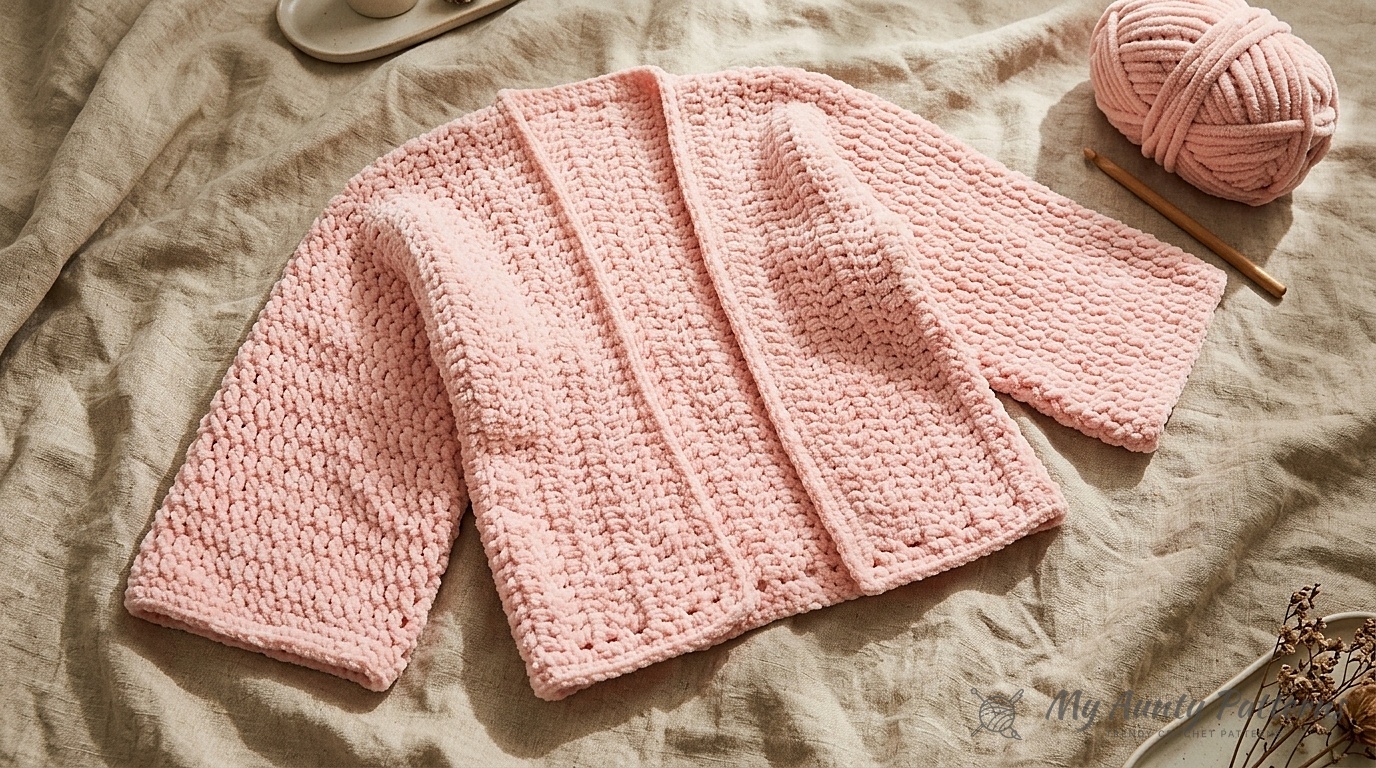
Pattern Terminology & Studio Notes: Written in standard US crochet terminology. Throughout this pattern, the beginning chain 3 counts as 1 double crochet (dc). Because the body is constructed in one piece from the Left Front across the shoulders to the Right Front, your double crochet rows run vertically when worn—creating a naturally elongating drape that resists sagging.
How Seamless Side-to-Side Garment Construction Works
Traditional sweaters require crocheting three separate body panels (Left Front, Right Front, and Back) and seaming the shoulders. In this clever side-to-side architecture, you crochet the entire body in one continuous pass:
- Section 1 (Left Front + Left Back): You chain 93 (which spans from the front bottom hem, up over the shoulder fold line, and down to the back bottom hem) and work 91 double crochets back and forth for 7″, 9″, or 11″ until reaching the neck opening.
- Section 2 (Center Back Neck): You work across only the first 45 double crochets (the Back half of the garment) for 8 inches, leaving the remaining 46 Front stitches unworked to create the open front neckline.
- Section 3 (Right Front + Right Back): At the end of the 8-inch back neck, you chain 46 to cast on the new Right Front edge, restoring all 91 stitches, and work another 7″, 9″, or 11″ to match the first side!
Materials, Chenille Yarn Specs & Inclusive Sizing Matrix (XS to 5XL)
The studio cardigan is crocheted in Bernat Blanket / Bernat Blanket O’Go (Category #6 Super Bulky, 100% polyester chenille; 10.5 oz / 300 g, 220 yds / 201 m per ball/O’Go) in colorway Soft Tan Pink (42014) using a U.S. Size M/13 (9.0 mm) crochet hook.
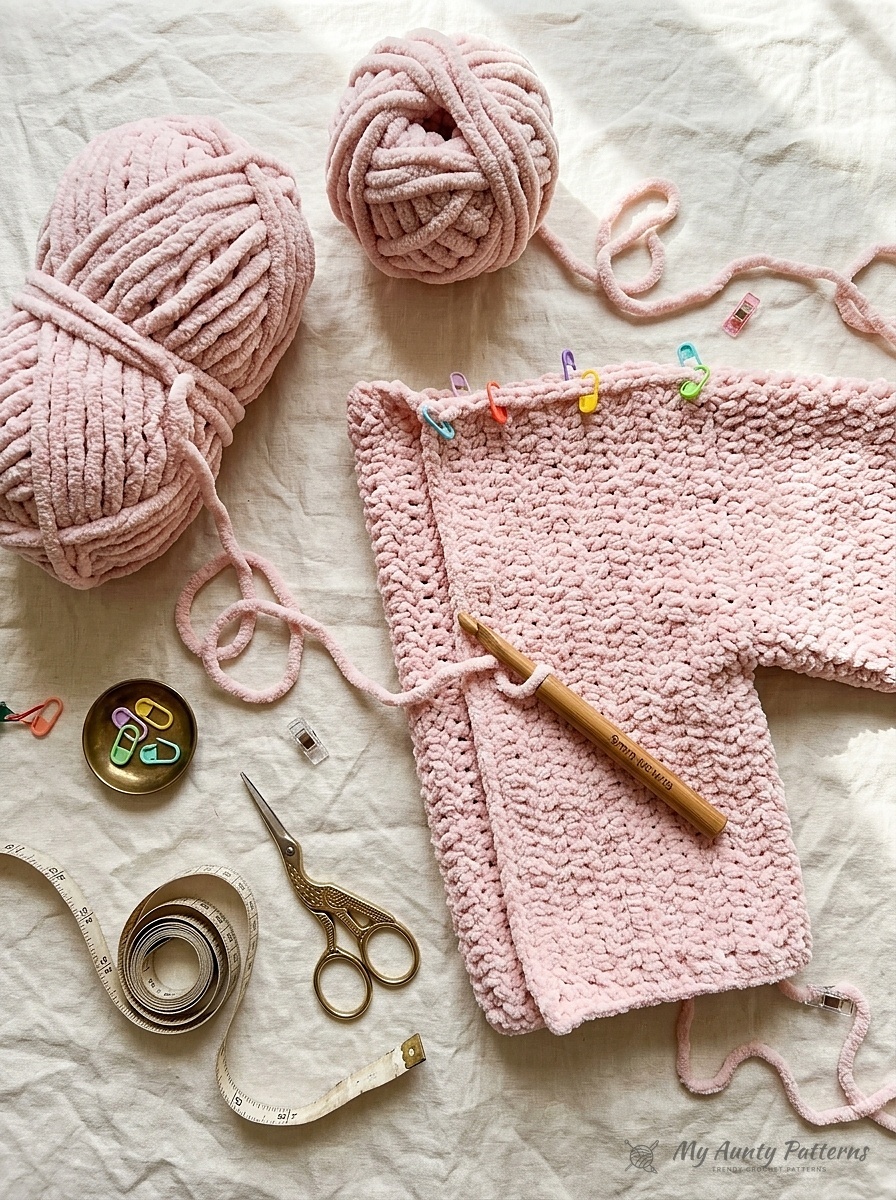
Materials & Tools Checklist
- Yarn: Bernat Blanket or Bernat Blanket O’Go (Category #6 Super Bulky, 10.5 oz / 300 g; 220 yds / 201 m) in Soft Tan Pink (42014) — 4 (4 – 5) balls for sizes XS/S/M (L/XL/2XL – 3/4/5XL).
- Crochet Hook: Size U.S. M/13 (9.0 mm) crochet hook, or size needed to obtain gauge.
- Notions: 4 locking stitch markers (for marking the 12-inch armhole openings and turning chains), large-eye yarn needle for flat side seams, and sharp scissors.
- Official Pattern Gauge: 7 double crochet and 4 rows = 4 inches (10 cm) with a 9.0 mm hook.
Swipe left or right on mobile to view all cardigan size measurements.
| Size Group | To Fit Bust Measurement | Finished Chest Circumference | Shoulder Panel Width (Each Side) | Garment Length (Shoulder to Hem) | Chenille Yarn Required |
|---|---|---|---|---|---|
| XS / S / M (Official) | 28 – 38 in. (71 – 96.5 cm) | 44 in. (112 cm) | 7 in. (18 cm) + 8″ neck + 7″ | 26 in. (66 cm) folded | 840 yds (4 balls / 300g) |
| L / XL / 2XL (Official) | 40 – 50 in. (101.5 – 127 cm) | 52 in. (132 cm) | 9 in. (23 cm) + 8″ neck + 9″ | 26 in. (66 cm) folded | 880 yds (4 balls / 300g) |
| 3XL / 4XL / 5XL (Official) | 52 – 62 in. (132 – 157.5 cm) | 60 in. (152.5 cm) | 11 in. (28 cm) + 8″ neck + 11″ | 26 in. (66 cm) folded | 1,050 yds (5 balls / 300g) |
| Cropped Boxy Fit (Custom Mod) | 28 – 50 in. (Adjustable) | 44 or 52 in. | Chain 73 (35 Back / 36 Front) | 20.5 in. (52 cm) folded | 710 yds (4 balls) |
| Longline Duster Coat (Custom Mod) | 28 – 62 in. (Adjustable) | 44, 52, or 60 in. | Chain 115 (56 Back / 57 Front) | 32.5 in. (82.5 cm) folded | 1,220 yds (6 balls) |
US Stitch Abbreviations
- Approx = Approximately
- Beg = Beginning
- Ch = Chain(s) — Note: Ch 3 at beginning of row or round counts as 1 dc throughout.
- Dc = Double crochet
- PM = Place marker
- Rem = Remaining
- Rep = Repeat
- Rnd(s) = Round(s)
- RS / WS = Right Side / Wrong Side
- Sc = Single crochet
- Sl st = Slip stitch
- Sp(s) = Space(s)
- St(s) = Stitch(es)
Step-by-Step Side-to-Side Cardigan & Sleeve Instructions
Instructions are written for size XS/S/M with changes for L/XL/2XL and 3/4/5XL in parentheses: XS/S/M (L/XL/2XL – 3/4/5XL).
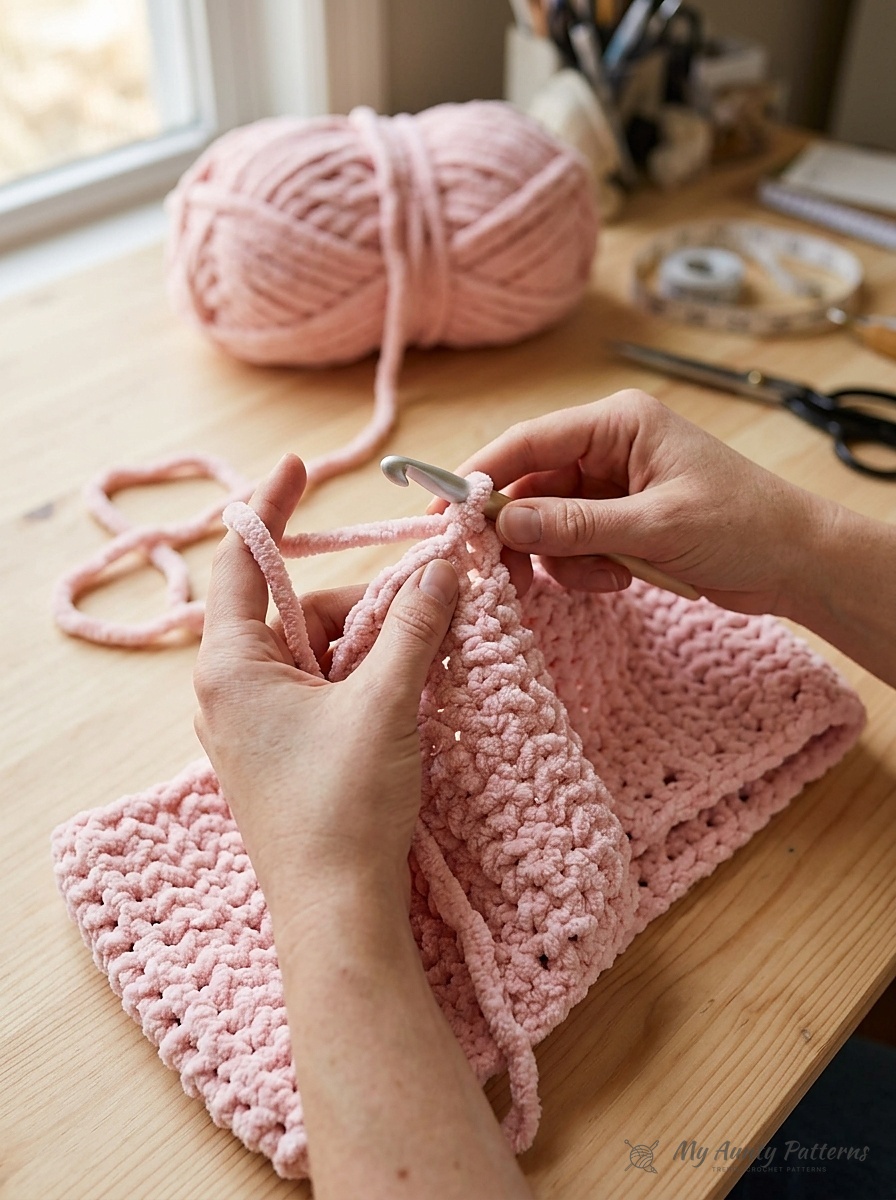
Stage 1: Seamless Side-to-Side Body
Foundation (Left Side Edge): With U.S. M/13 (9.0 mm) crochet hook and Bernat Blanket yarn, chain 93 loosely.
Row 1 (Right Side): Work 1 dc in the 4th chain from hook (the 3 skipped chains plus this dc count as 2 dc). Work 1 dc in each remaining chain across to the end of the chain. Turn work. (91 dc stitches).
Row 2: Chain 3 (counts as first dc). Work 1 dc in each dc across to the end of the row (working final dc into top of turning ch-3). Turn work. (91 dc stitches).
Left Shoulder Panel: Repeat Row 2 until the work from the beginning measures approximately 7″ (9″ – 11″) [18 (23 – 28) cm], ending on a Wrong Side row.
Shape Back Neck (Row 1 of Neck Opening – Right Side): Chain 3 (counts as first dc). Work 1 dc in each of the next 44 dc. Turn work, leaving the remaining 46 stitches unworked for the Left Front opening. (45 dc on the Back).
Center Back Neck Rows: Chain 3. Work 1 dc in each of the next 44 dc across. Turn work. Repeat this row over the 45 Back stitches until the work from the neck split measures 8 inches (20.5 cm) for all sizes, ending on a Right Side row.
Cast On Right Front: At the end of the last Back Neck row, chain 46 (this new chain forms the inner front edge of your Right Front panel). Turn work.
Next Row (Wrong Side – Full Body Restored): Work 1 dc in the 4th chain from hook. Work 1 dc in each of the remaining 42 chains, then work 1 dc in each of the 45 Back dc stitches across to the end of the row. Turn work. (91 dc stitches restored).
Right Shoulder Panel: Chain 3. Work 1 dc in each dc across. Turn work. Repeat this row until the work from the 46-chain cast-on measures 7″ (9″ – 11″) [18 (23 – 28) cm] to match the Left Shoulder Panel, ending on a Wrong Side row. Fasten off.
Stage 2: Side Seams & Top-Down Sleeves Worked in Rounds
Step 1 (Fold & Seam Sides): Fold the body panel in half lengthwise along the shoulder line (where the 45th and 46th stitches meet). Measure 12 inches (30.5 cm) down from the shoulder fold along both outer side edges and place a locking stitch marker (PM) on each side. Using a flat whipstitch seam with Right Sides facing you, sew the side seams from the bottom hem up to the 12-inch markers, leaving the top 12-inch openings unsewn for the armholes.
Step 2 (Sleeves – Make 2 Both Alike): Sleeves are worked in joined rounds without turning. With the Right Side (RS) facing, join yarn with a sl st at the bottom underarm seam of the armhole opening.
- Round 1: Chain 3 (counts as first dc). Work 38 dc evenly spaced around the armhole opening. Join with a
sl stto the top of the beginning ch-3. Do not turn. (39 dc total including ch-3). - Rounds 2–17: Chain 3. Work 1
dcin eachdcaround. Join with asl stto the top of the ch-3. Do not turn. - Round 18 (Cuff Setup): Chain 1. Work 1
scin the first dc, and 1scin each of the next 38 dc around. Join with asl stto the first sc. Do not turn. (39 sc). - Round 19 (Cuff Finish): Chain 1. Work 1
scin eachscaround. Join with asl stto the first sc. Fasten off and weave in sleeve tails.
Stage 3: Continuous 2-Round Single Crochet Body Edging
With Right Side (RS) facing, join yarn with a sl st at the bottom right side seam:
- Border Round 1: Chain 1. Working across the bottom edge of the cardigan, work 2 sc around the post of each horizontal dc row-end to the bottom right front corner. Work
ch 2for the corner. Work 1 sc in each dc up the Right Front opening to the neck. Working across the Back Neck edge, work 2 sc around the post of each dc row-end to the left neck corner. Work 1 sc in each dc down the Left Front opening to the bottom corner. Workch 2for the corner. Working across the remaining bottom edge, work 2 sc around the post of each dc row-end to the end of the round. Join with asl stto the first sc. Do not turn. - Border Round 2: Chain 1. Work 1
scin eachscaround, working(1 sc, ch 2, 1 sc)into each of the two bottom front cornerch-2spaces. Join with asl stto the first sc. Fasten off and weave in all ends.
Mary’s Studio Tips for Professional Chenille Garments
- Count Your Rows Rather Than Only Measuring Inches on the Second Side: Because plush chenille relaxes slightly under its own weight, write down the exact number of rows you worked on the Left Shoulder Panel (usually 7, 9, or 11 rows at gauge) and work that identical row count on the Right Shoulder Panel so both fronts hang at the exact same width.
- Distribute the 39 Sleeve Stitches Evenly: Place a stitch marker at the top shoulder fold before starting Sleeve Round 1. Work 19 stitches up the front half of the armhole, 1 stitch at the shoulder fold marker, and 19 stitches down the back half of the armhole for balanced sleeve hang.
- Add a 3rd Round of Single Crochet for Snugger Wrist Cuffs: If you prefer a tighter wrist cuff that pushes up on your forearms, workSleeve Round 18 using a
sc2togdecrease every 4th stitch before working Round 19 evenly.
Garment Care & Storage
- Machine Wash Cold, Gentle Cycle: Bernat Blanket 100% polyester chenille is machine washable in cold water on a delicate cycle. Always wash inside a large mesh laundry bag and dry flat on towels.
- Fold Rather Than Hang: Always store heavy super bulky cardigans folded on a shelf or in a drawer; hanging a chenille sweater on a coat hanger will stretch out the shoulder line over time.
Frequently Asked Questions
How do I make the cardigan longer or shorter?
Because the body is worked side-to-side, your starting chain of 93 controls the total folded length (from front hem, over the shoulder, to back hem = 52 inches total, or 26 inches folded). To add 2 inches to the body length, add 14 chains to the starting chain (7 stitches added to the Front + 7 stitches added to the Back).
Can I add patch pockets to the front panels?
Yes! Chain 16, work 14 dc across for 7 rows (creating an 8″ × 7″ square), and whipstitch a pocket to each front panel 2.5 inches above the bottom border and 2 inches inside the front edging.
READER COMMENTS & PATTERN QUESTIONS
Have a question about stitch counts, yarn substitutions, or sizing? Leave a comment below — Mary Ward reads and replies to every maker question!