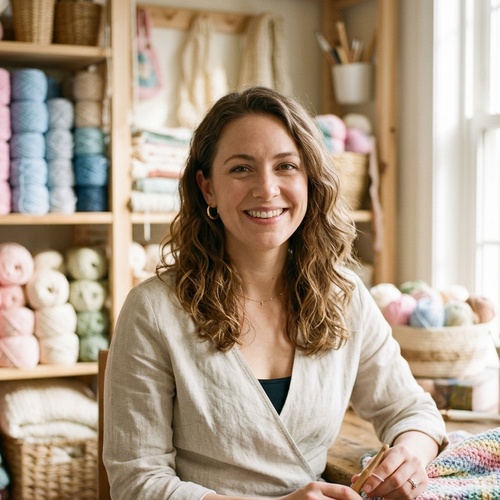
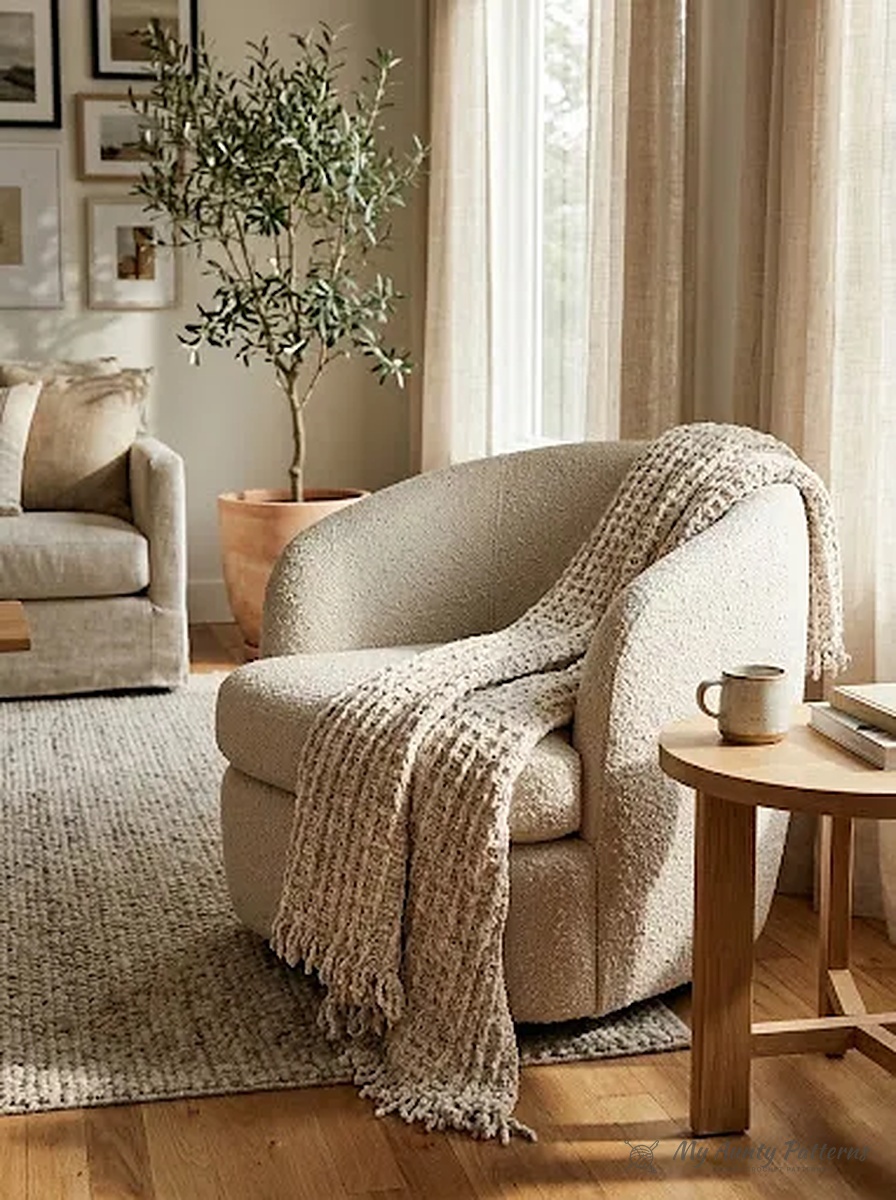
Few living room makes feel as inviting as a deeply textured waffle throw worked in soft, light-catching crushed velvet yarn. This free chunky waffle and fringe crochet blanket pattern combines the architectural loft of front-post and back-post double crochet ridges with a neat, self-coiling twisted loop fringe along the top and bottom borders. Designed for effortless evening relaxation, the two-row repeat builds a plush, thermal honeycomb grid that drapes beautifully over an armchair or across the foot of a bed.
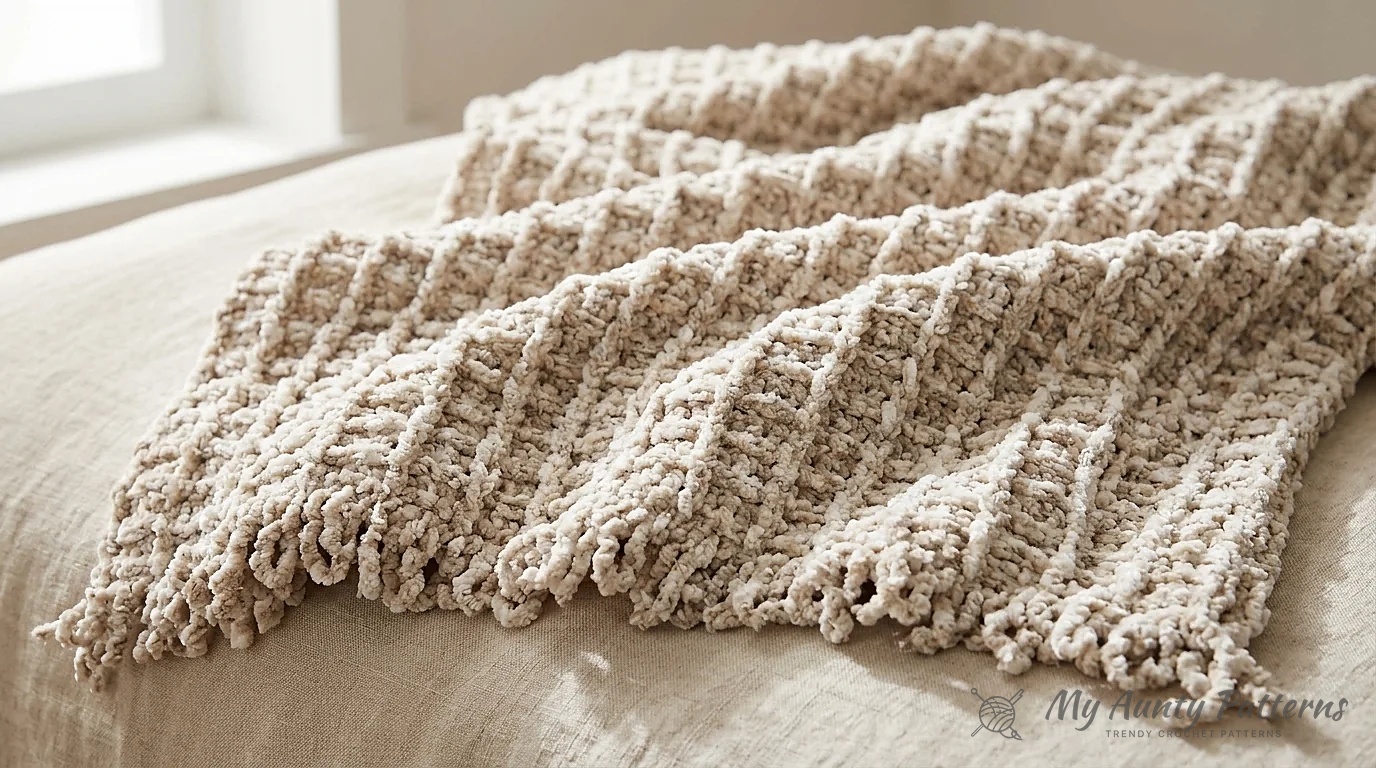
Pattern Terminology & Studio Notes: This pattern is written using standard US crochet terminology in accordance with Craft Yarn Council standards. Throughout this pattern, the beginning chain 3 counts as 1 double crochet (dc) stitch. Because Row 1 begins with 1 double crochet worked into the 4th chain from the hook, those skipped chains and the first stitch together count as your first 2 double crochet stitches.
How the 2-Row Post-Stitch Waffle Architecture Works
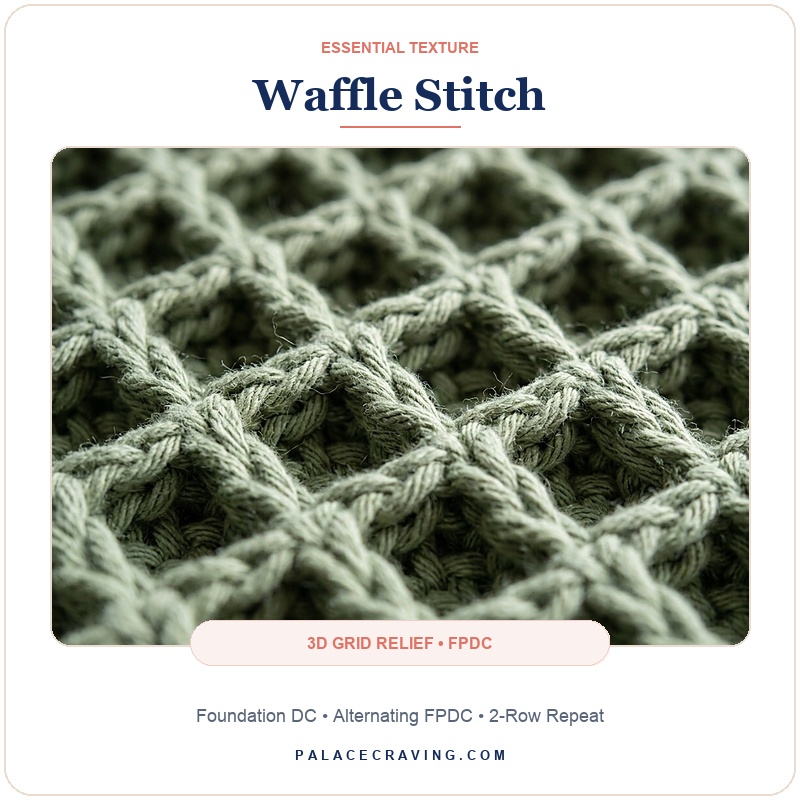
Traditional waffle fabric relies on alternating vertical and horizontal raised bars that trap warm air inside recessed pockets. When worked in Category #5 Bulky crushed velvet chenille, those geometric pockets transform into a cloud-like cushion without feeling overly stiff or heavy.
- Row 2 (Right Side – Deep Grid Pockets): Alternates 1 Front Post Double Crochet (
dcfp) around a single post with 1 Back Post Double Crochet (dcbp) around each of the next 3 stitches. Pushing those 3 center stitches toward the back pushes their horizontal top loops forward on the right side, forming the horizontal bars of the waffle square. - Row 3 (Wrong Side – Crisp Rear Alignment): Alternates 1 Back Post Double Crochet (
dcbp) around the post stitch with 1 regular Double Crochet (dc) worked into the top loops of each of the next 3 stitches. Working around the back of that single post keeps the vertical column continuously raised on the Right Side of your blanket. - Foundation Chain Formula: The stitch repeat is worked over a foundation chain multiple of 4 chains + 5. Once you work your first double crochet into the 4th chain from the hook, your total stitch count on Row 1 will always equal your starting chain minus 2 (a multiple of 4 + 3 stitches).
Required Yarn, Hook Specs & 5-Size Blanket Matrix
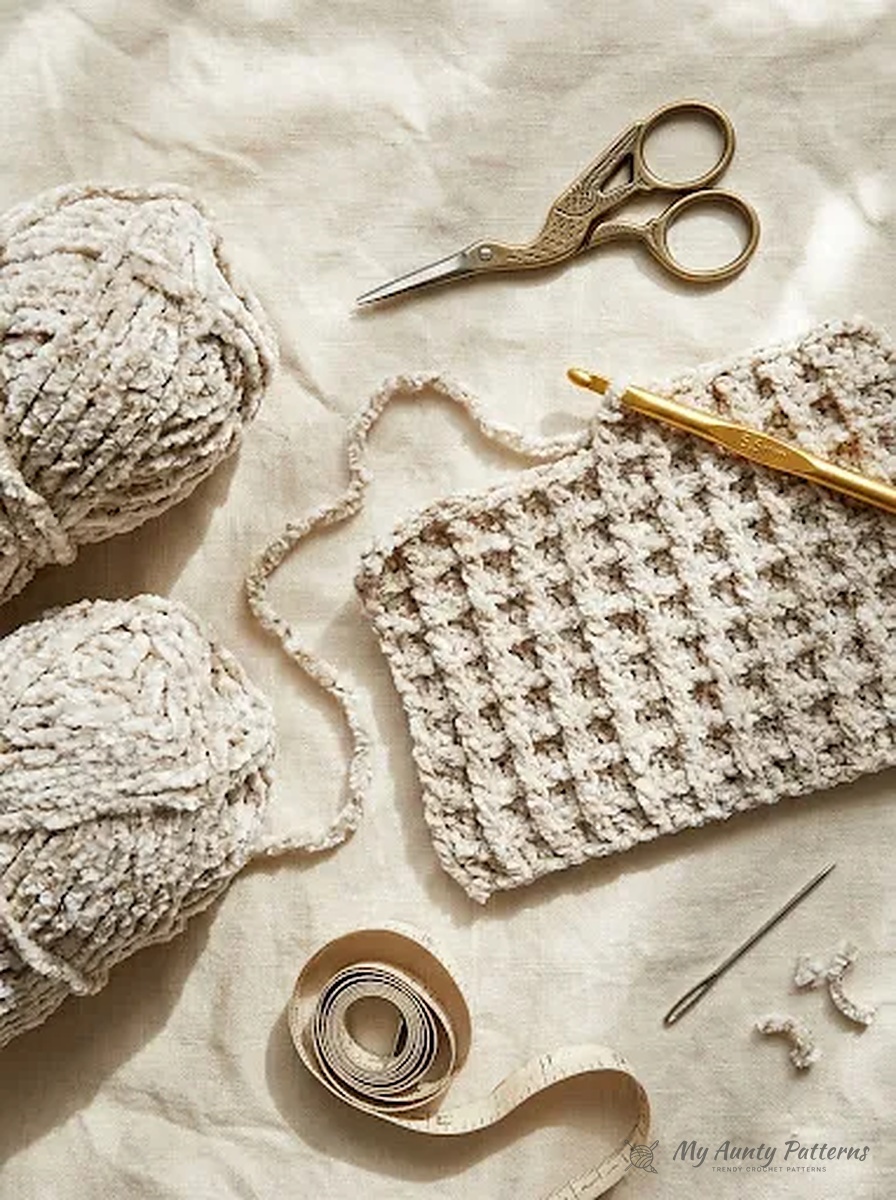
The original studio sample is crocheted in Bernat Crushed Velvet (Category #5 Bulky, 100% polyester; 10.5 oz / 300 g, 315 yds / 288 m per ball) using a U.S. Size I/9 (5.5 mm) crochet hook. The subtle marled sheen of crushed velvet highlights every raised post column while resisting the loop slippage sometimes seen in looser chenille yarns.
Materials & Tools Checklist
- Yarn: Bernat Crushed Velvet (Category #5 Bulky, 10.5 oz / 300 g; 315 yds / 288 m per ball) in colorway White / Warm Oatmeal Marl (16007) — 9 balls for the full 49″ × 60″ throw (or see yardage chart below for custom sizes).
- Crochet Hook: Size U.S. I/9 (5.5 mm) aluminum crochet hook, or size needed to obtain exact gauge.
- Notions: Blunt steel yarn needle for weaving in chenille tails, locking stitch markers for counting the foundation chain, and sharp embroidery scissors.
- Official Pattern Gauge: 12 stitches and 7 rows = 4 inches (10 cm) measured in the established Waffle Pattern (equals 3.0 stitches per inch horizontally and 1.75 rows per inch vertically).
Swipe left or right on mobile to view all sizing specifications.
| Blanket Size | Finished Dimensions (Excl. Fringe) | Foundation Chain (Mult. of 4 + 5) | Row 1 Stitch Count | Approx. Rows | Estimated Bulky Yardage |
|---|---|---|---|---|---|
| Baby / Stroller Throw | 31 × 36 in. (79 × 91.5 cm) | Chain 97 | 95 dc | 63 rows | 1,150 yds (4 balls) |
| Cozy Lapghan | 39 × 48 in. (99 × 122 cm) | Chain 121 | 119 dc | 85 rows | 1,890 yds (6 balls) |
| Official Pattern Throw (Sample) | 49 × 60 in. (124.5 × 152.5 cm) | Chain 149 | 147 dc | 105 rows | 2,835 yds (9 balls) |
| Generous Sofa Afghan | 55 × 68 in. (140 × 173 cm) | Chain 169 | 167 dc | 119 rows | 3,650 yds (12 balls) |
| Twin Bed Coverlet | 63 × 80 in. (160 × 203 cm) | Chain 193 | 191 dc | 141 rows | 4,950 yds (16 balls) |
Notice on Pattern Estimates: Custom size conversions use calculated design formulas based on the official pattern gauge of 12 stitches and 7 rows per 4 inches. Gauge, finished dimensions, and yarn requirements are estimates; always crochet and measure a 6 × 6 inch swatch before starting your blanket.
US Stitch Abbreviations & Post-Stitch Definitions
- Approx = Approximately
- Beg = Beginning
- Ch = Chain(s)
- Dc = Double crochet
- Dcfp (Front Post Double Crochet) = Yarn over hook (Yoh) and draw up a loop around the vertical post of the next stitch at the front of your work, inserting the hook from right to left. (Yoh and draw through 2 loops on hook) twice.
- Dcbp (Back Post Double Crochet) = Yarn over hook (Yoh) and draw up a loop around the vertical post of the next stitch at the back of your work, inserting the hook from right to left. (Yoh and draw through 2 loops on hook) twice.
- Pat = Pattern
- Rep = Repeat
- RS / WS = Right Side / Wrong Side
- Sl st = Slip stitch
- St(s) = Stitch(es)
- Yoh = Yarn over hook
Row-by-Row Waffle Blanket & Twisted Fringe Instructions
Follow these step-by-step instructions to build the main waffle body and finish both ends with the twisted coil loop edging. Stitch counts in parentheses apply to the official 49″ × 60″ throw (Chain 149).
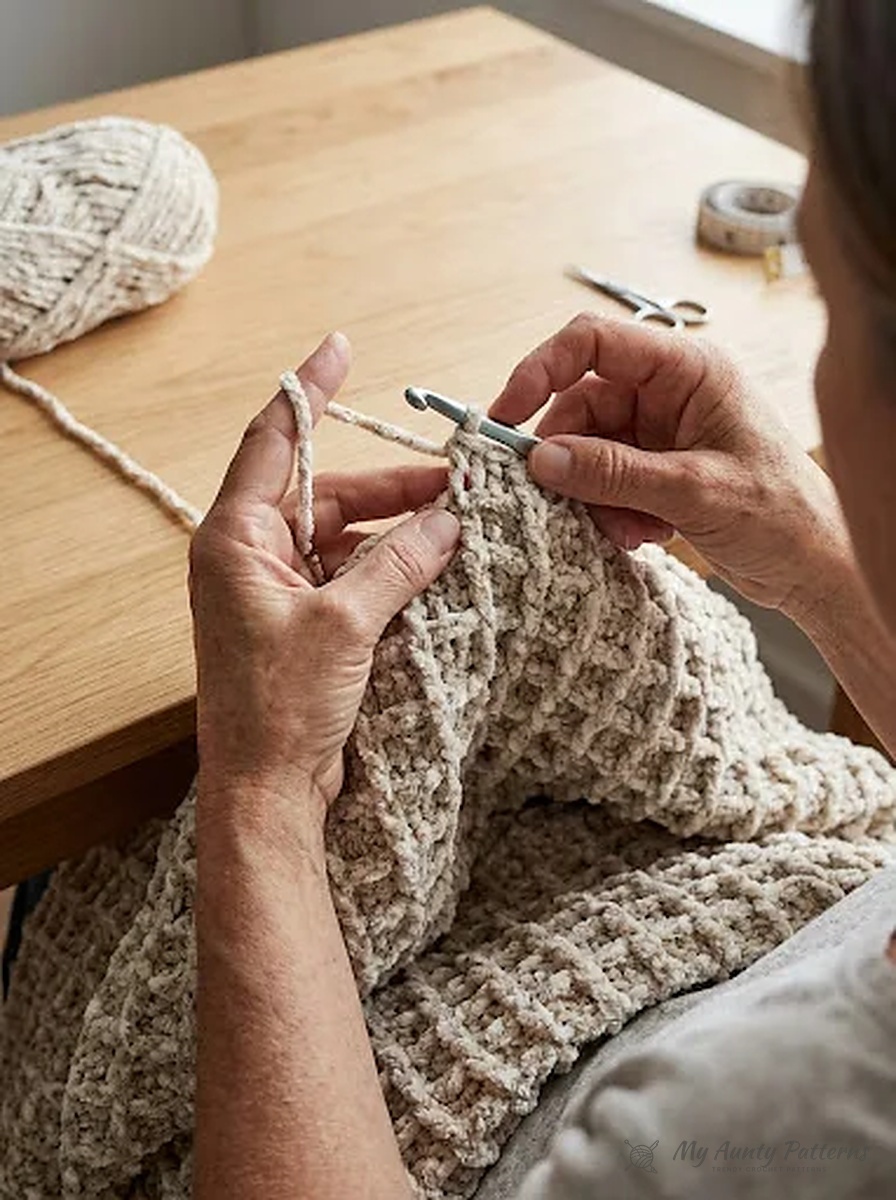
Stage 1: Foundation & Waffle Body
Foundation: With U.S. I/9 (5.5 mm) crochet hook and Bernat Crushed Velvet yarn, chain 149 loosely (or any multiple of 4 chains + 5 for your chosen size).
Row 1 (Wrong Side): Work 1 double crochet (dc) in the 4th chain from hook (the 3 skipped chains plus this dc count as your first 2 dc). Work 1 dc in each remaining chain across to the end of the foundation chain. Turn work. (147 dc stitches total).
Row 2 (Right Side – Waffle Ridge Setup): Chain 3 (counts as first dc here and throughout). *Work 1 dcfp around next stitch, then work 1 dcbp around each of the next 3 stitches. Repeat from * across to the last 2 stitches. Work 1 dcfp around the next stitch, then work 1 regular dc into the top of the last stitch (the turning chain from the row below). Turn work. (147 stitches: 36 dcfp columns, 35 groups of 3-dcbp, plus 2 edge dc stitches).
Row 3 (Wrong Side – Waffle Grid Return): Chain 3 (counts as first dc). *Work 1 dcbp around the next stitch (the post stitch from the previous row), then work 1 regular dc in the top loops of each of the next 3 stitches. Repeat from * across to the last 2 stitches. Work 1 dcbp around the next dc, then work 1 regular dc into the top of the last turning chain. Turn work. (147 stitches).
Rows 4–105 (Main Blanket Body): Repeat Row 2 and Row 3 of the Waffle Pattern continuously until your blanket measures approximately 60 inches (152.5 cm) from the beginning foundation edge, ending after completing a Row 2 (Right Side) repeat. Fasten off and weave in body tails.
Stage 2: Self-Coiling Twisted Loop Fringe Edging
Instead of cutting hundreds of individual yarn strands that can shed velvet fluff, this pattern uses a continuous slip-stitch twisted loop fringe worked directly across the top and bottom edges.
Top Fringe Edging: With the Right Side (RS) of the blanket facing you, join yarn with a slip stitch (sl st) into the top right-hand corner stitch.
Edging Row 1 (Right Side): Chain 1. *Work 1 sl st into the next stitch. Draw up the loop on your hook until it measures 10 inches (25.5 cm) long. Remove hook briefly (or rotate hook steadily) and twist the 10-inch loop 20 times in the same direction until taut. Insert hook and work 1 sl st into the same stitch, allowing the twisted loop to fold and coil neatly around itself into a springy corded tassel. Repeat from * in every stitch across to the end of the row (147 twisted fringe coils). Fasten off securely.
Bottom Fringe Edging: With the Right Side (RS) facing you, join yarn with a sl st into the bottom corner of the foundation edge. Work across the bottom edge exactly as given for the Top Fringe Edging. Fasten off and weave in all remaining ends.
Mary’s Studio Tips for Crocheting with Crushed Velvet
- Keep Foundation Tension Relaxed: Post stitches draw the fabric inward slightly on Row 2. If your starting chain is tight, the bottom edge will pull narrower than the body. If you tend to chain tightly, use a 6.0 mm (US J/10) hook just for the Chain 149 foundation, then switch immediately to your 5.5 mm (US I/9) hook for Row 1.
- Never Skip the Turning Chain Anchor: At the end of every row, your final stitch is a standard double crochet worked into the 3rd chain of the turning ch-3 from the row below. Placing a locking stitch marker into that 3rd chain as soon as you make your ch-3 ensures crystal-clear visibility through the velvet pile and guarantees ruler-straight side edges.
- Consistent Twist Count on the Fringe: Counting to 20 twists on every 10-inch drawn loop ensures all fringe tassels coil to the exact same finished length (approximately 3.5 to 4 inches once doubled and twisted).
Washing, Care & Storing Your Velvet Throw
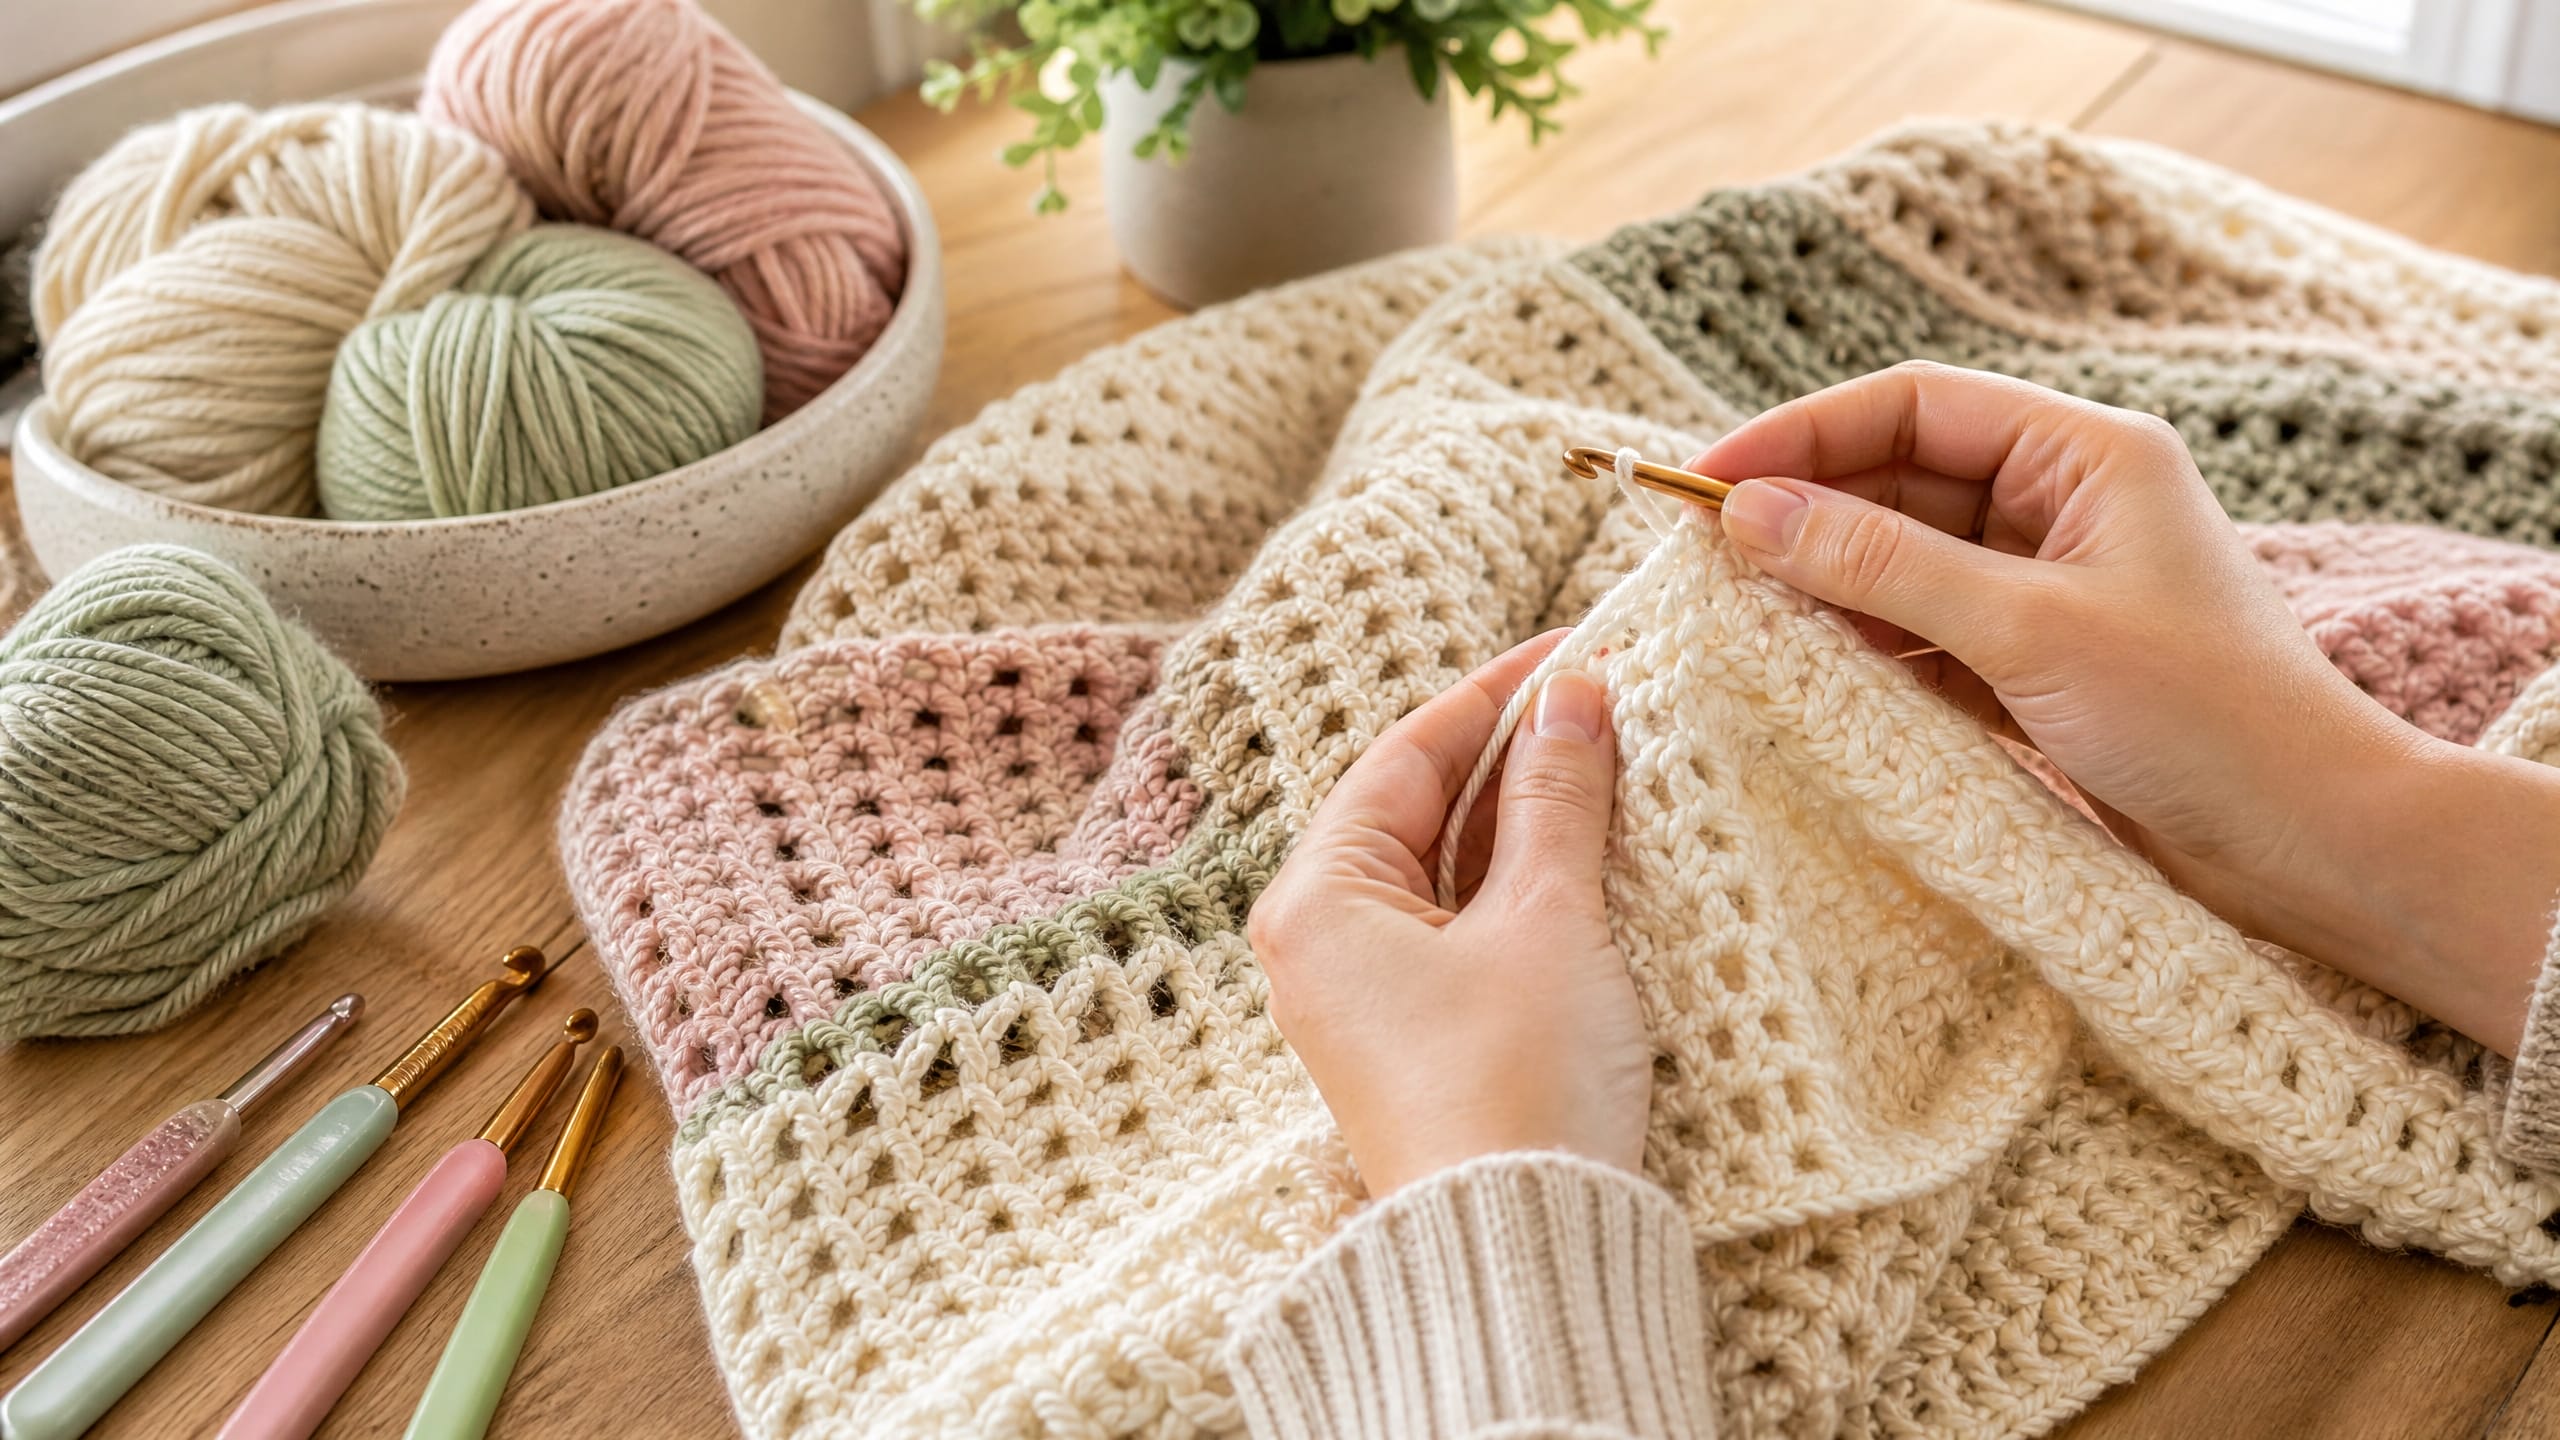
Although polyester chenille is durable, the raised velvet pile and 3D waffle ridges benefit from gentle laundering to prevent matting or loop snags:
- Hand Wash or Delicate Cold Cycle: Wash separately in cold water (max 30°C / 86°F) on a gentle cycle using mild liquid detergent. Never use fabric softener, which coats micro-velvet fibers and flattens their luster.
- Dry Flat on Towels: Support the wet blanket’s weight with both hands when lifting it from the tub. Roll gently in clean bath towels to press out excess moisture, then lay flat on a mesh drying rack or dry towels, reshaping the waffle grid and smoothing the twisted fringe coils with your fingers.
- Avoid Direct Heat: Never iron crushed velvet yarn and avoid high-heat tumble drying.
Maker Troubleshooting & Pattern Questions
Can I substitute Bernat Velvet Twist or classic Bernat Velvet for this blanket?
Yes! Both Bernat Crushed Velvet and Bernat Velvet Twist are Category #5 Bulky chenille yarns (300 g / 10.5 oz balls). Note that Bernat Velvet Twist has slightly thicker loft (229 yds per ball vs. 315 yds in Crushed Velvet) and uses a 6.5 mm (US K/10.5) hook at a gauge of 10 sts and 8 rows per 4 inches, which requires 11 balls for a 49″ × 52″ throw. Always check your 4-inch gauge swatch to calculate exact ball counts.
Why do my vertical waffle ribs look staggered instead of forming straight columns?
If your vertical post columns shift sideways, check that you are starting Row 2 with 1 dcfp around the second stitch (immediately after the ch-3) and starting Row 3 with 1 dcbp around that exact same post stitch. Because each row has 147 stitches (a multiple of 4 + 3), the stitch immediately inside both the beginning ch-3 and the final edge dc will always be a post stitch.
How do I keep velvet yarn tails from slipping out over time?
Cut a generous 8-inch tail when joining a new ball or fastening off. Thread the tail onto a blunt steel yarn needle and weave it horizontally through the dense base of 4–5 post stitches, then reverse direction and weave back through a neighboring row, and finally pass a third time in the original direction, splitting through the core thread if possible.
READER COMMENTS & PATTERN QUESTIONS
Have a question about stitch counts, yarn substitutions, or sizing? Leave a comment below — Mary Ward reads and replies to every maker question!